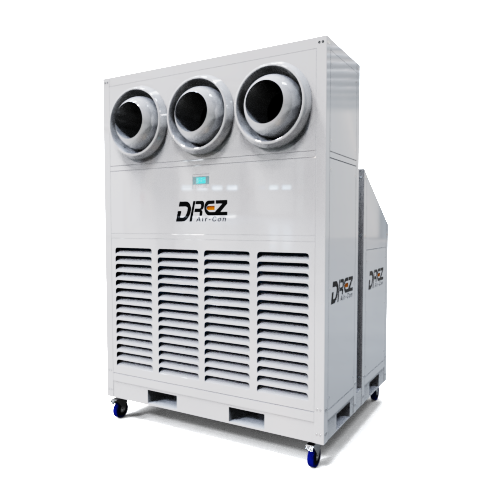
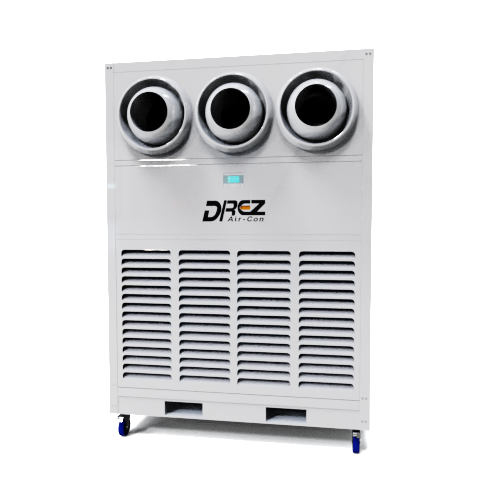
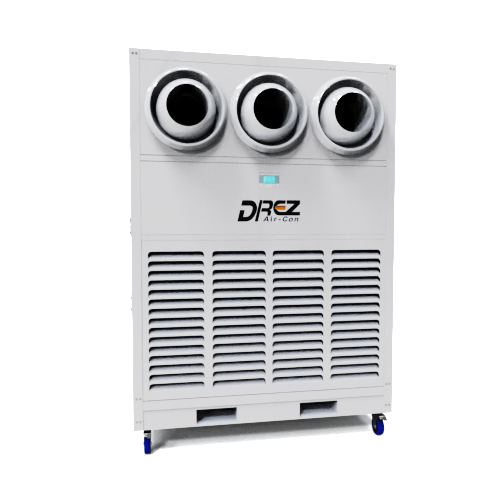
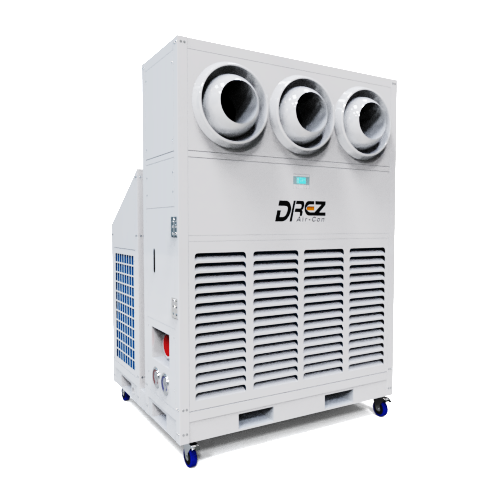
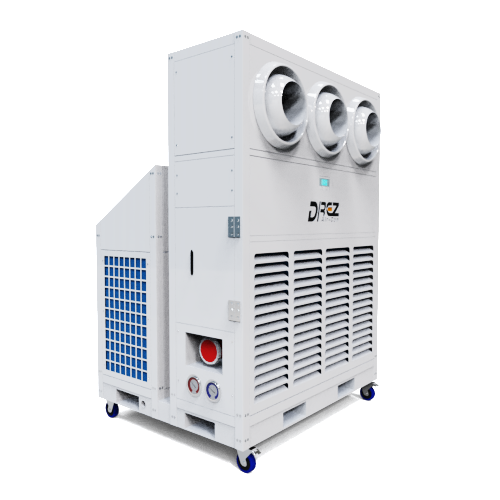
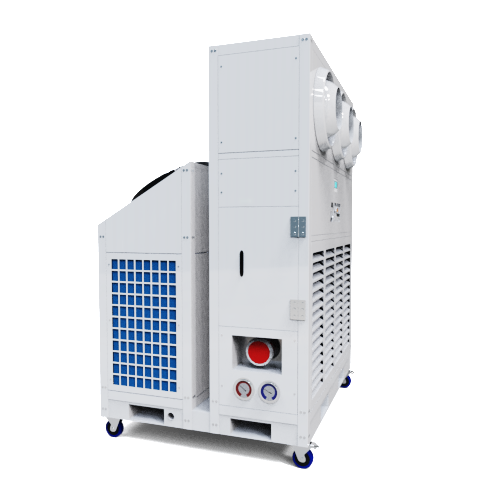
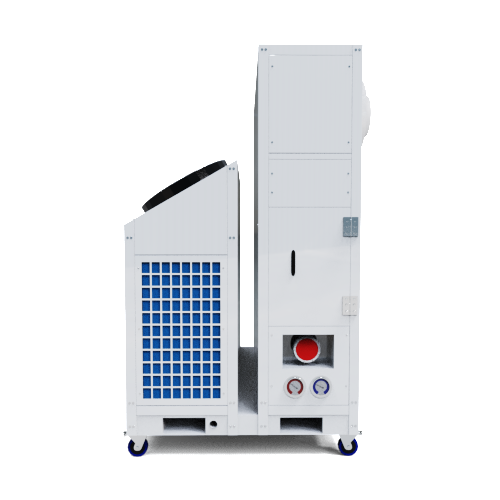
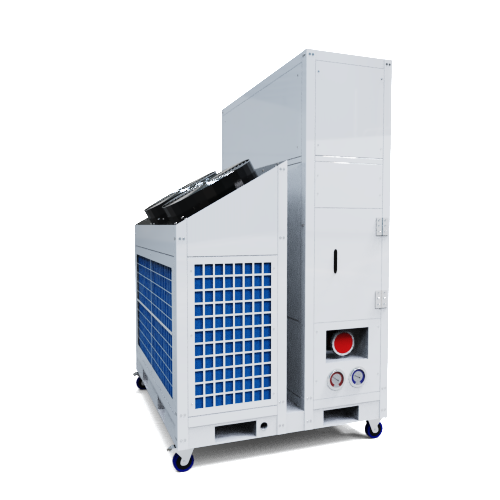
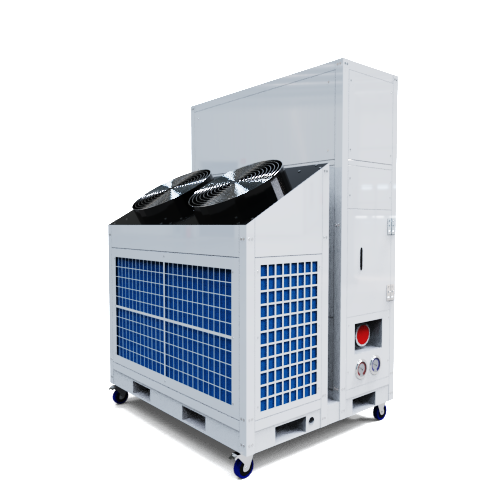
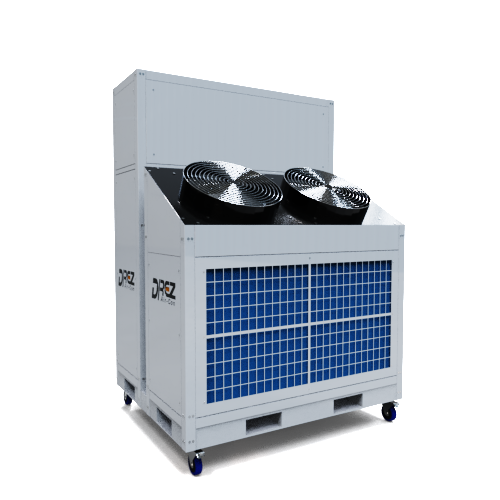
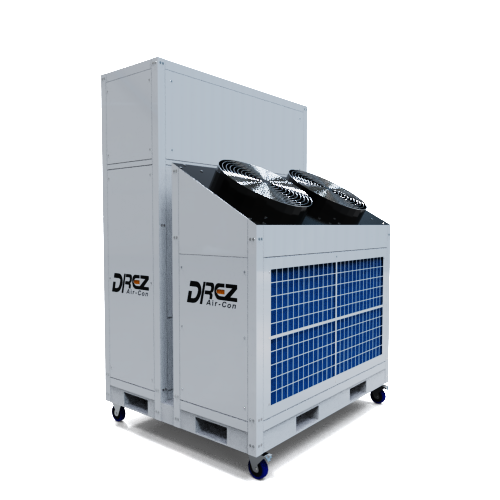

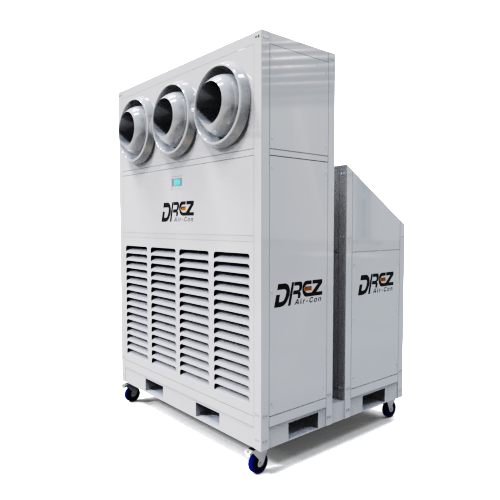
10 Ton Portable Air Conditioner for Camping and All Tents
Experience comfort anywhere with our 10 ton portable HVAC system, perfect for camping adventures.


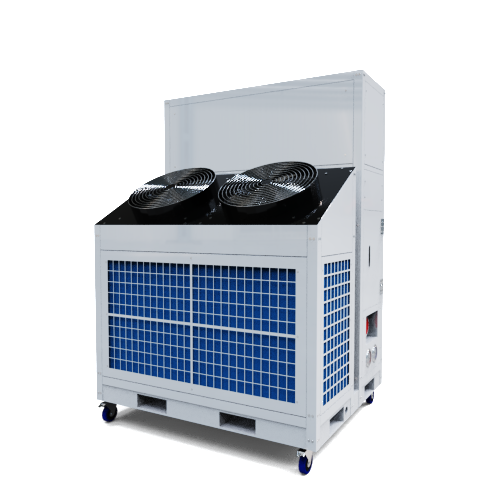
Elevate your commercial and industrial spaces with high-performance tent air conditioning – the key to optimal comfort and productivity in any environment.
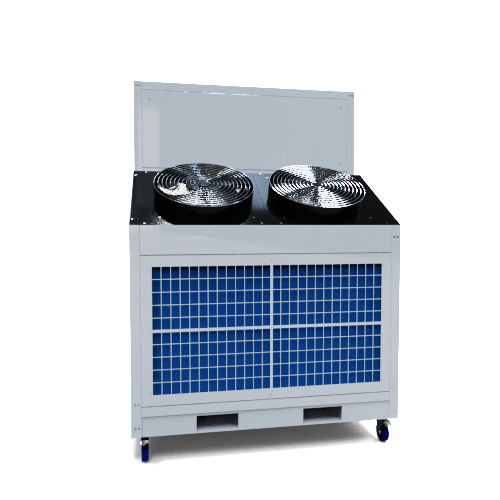
Get a QuoteExperience ultimate camping comfort with Drez portable air conditioner, ensuring a cool retreat wherever your adventure takes you.
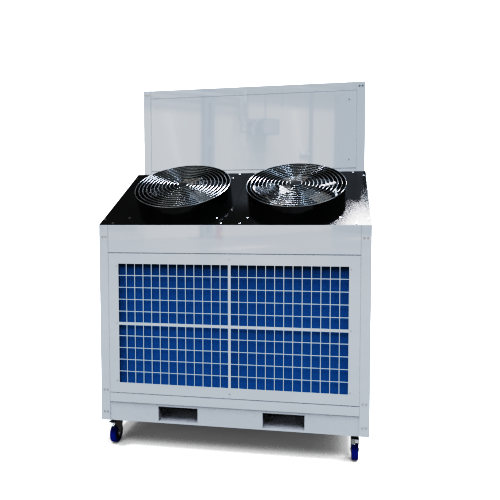
Get a QuoteTransform exhibition spaces into cool havens of success with Exhibition Tent Air Conditioner – redefining comfort and creating the perfect atmosphere for showcasing excellence.
Get a QuoteUse our advanced cooling solution to improve the efficiency and storage of the production workshop.
Get a Quote


it's the essence of our commitment to excellence in air conditioner products and services. We tailor every aspect of our offerings to enhance your comfort, whether it's through innovative air conditioning solutions, personalized service, or cutting-edge technology.
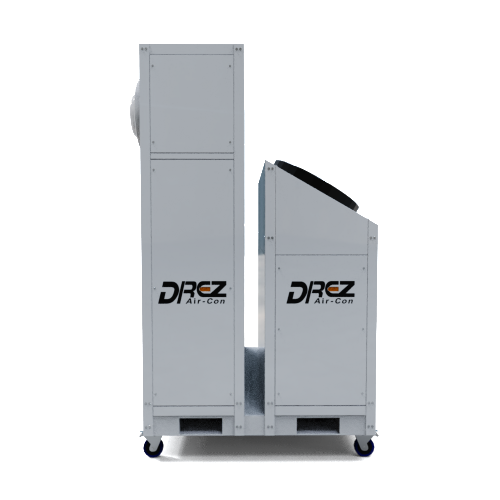
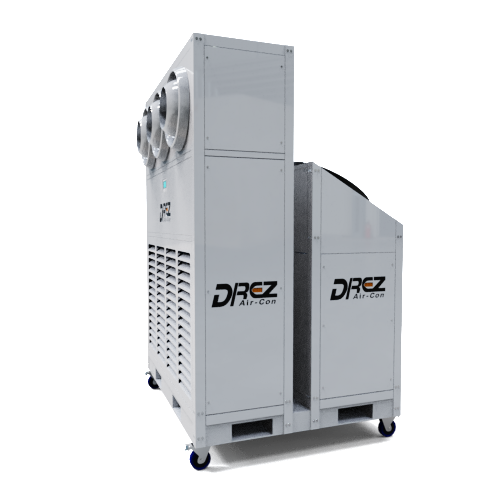
Is not only suitable for tents but also provides powerful cooling performance for facilities like factories and exhibitions.

Experience comfort anywhere with our 10 ton portable HVAC system, perfect for camping adventures.

Introducing our 3-ton (11kW / 4Hp / 36,000 Btu) air conditioning unit designed specifically to offer both cooling and heating functionalities for tents.

32 Ton(116Kw / 40Hp / 384000Btu) air conditioning unit that specifically provides cooling and heating functions for tents.

DREZ 30ton marquee tent air conditioning for tents, we have many solutions to help you solve the problem of tent cooling.

Every activity has specific control requirements vary with environment, place and many factors. Every client wants to hose an unique party. We will identify core requires with you at beginning.
Drez has good team to realize client dreams, from blueprint to insight step by step. Innovative latest HVAC tech is used.
Drez has more than 50 different models, from 3ton to 50ton. Air-con operates within -20~55 degrees. Stablity and reliability is the promise.
Drez provides free warranty, 24hr service and life-time technical support.
We have more client or friend globally.
If the plan doesn’t work–change or update the plan, not the goal.
Human has an infinite demand to climate control. Drez has been trying best to satisfy the climate control demand in a variety of temporary activities or building, through thousands of successful projects.
Your demand is Drez’s goal, We know how it works!